Showing posts with label sewing. Show all posts

Sunday, November 14, 2010

Poppy Headbands


This summer I saw a tutorial on Ruffles And Stuff for this headband and was inspired. I thought it was a brilliant use of resources! And it was so cute. I finally got around to making some in the early fall. I decided to sacrifice my only red purse for the project. It was too small anyway, so now it lives on in a more useful capacity. I like to think it's happier that way. :o)
I changed it up from the tutorial a little. I made poppies instead of bows, and I added some beads for the flower centers. I also did decorative stitching. And I didn't glue anything, I sewed the flowers on. So really I just took the idea of killing a purse to make mother-daughter headbands! Disney at Ruffles And Stuff is great for inspiration like that. She has a craft budget of 0.0001% of the household budget, same as me. So her projects are very do-able.
I love how ours turned out. I love poppies! I think we'll wear them often, since they'll go with most of our winter clothes. Well, most of my winter clothes. Suzy's wardrobe is still mainly pink and purple, whatever the season. :o)

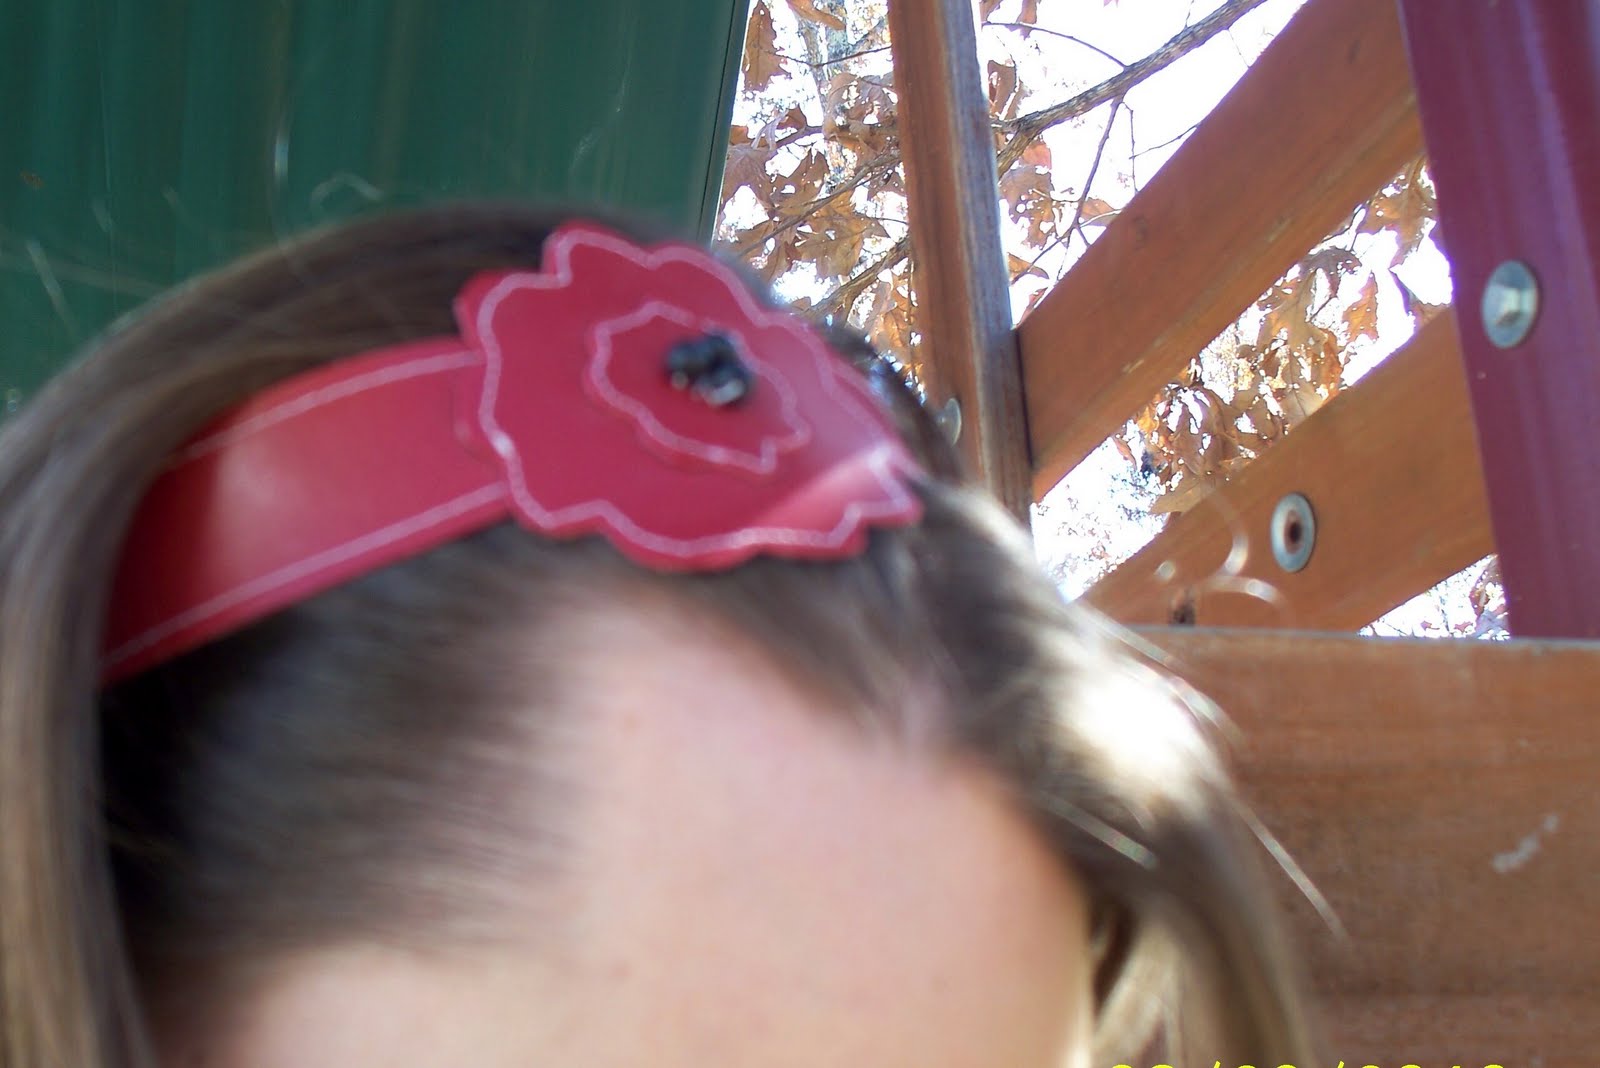
A close-up of my pretty girl:

This is really blurry. I had to zoom in to crop out my face. Don't judge! Anyway, I think you get a vague idea of what it's supposed to look like:

And just because she wanted her picture with Daddy too:


Sunday, October 17, 2010

Taggy Blanket

I've neglected my poor little blog as bad as the withered English ivy I have on my kitchen counter. I don't know why I keep the plant corpse displayed like a monument to my ineptitude, but there it is to greet me every morning.
Back to the blog...I've been silent for a few months, but all the while I was taking before and after pictures of my projects, pictures of Suzy doing funny things, and anything else that I thought would be a good post.
Thursday I decided I really had to upload them and get back into the habit of posting regularly again. But they were gone! All my pictures! Hundreds! Except for about thirty pictures - pictures of the floor of the middle bedroom, the upper door frame of the same room, and some incriminating shots Yo Gabba Gabba and Dora on tv. Yes, my darling Suzy had deleted all my pictures and then played photographer.
So no cute before and after project posts. Nope. But not all proof that I haven't spent the past several months laying on the couch reading library books has been lost. My friend Mendi became my first-ever customer and commissioned me (it sounds so important!) to make a taggy blanket for her baby Lennox. I forgot to take pictures of it before I sent it, so Mendi went above the duty of a customer and took them for me. The bonus is that my four year old couldn't delete them.
So here it is:

A close-up of the print:

It's by Mary Englebert Breight. The illustrations are the same as in her book of fairy tales, which is one of the cutest I've ever seen.

Here are some close ups of the tags. I LOVED layering ribbons and trims to make the tags. They were so fun.


I embroidered Lennox's initials in the center. His name is Lennox Melville Carlson. That sounds so dignified, like a president or a transcendental author. But let us hope for better things for him. ;o)


This is what it looked like all wrapped up and ready to ship. Except it's after shipping because I forgot to take pictures. So all wrapped up and recieved:


And my favorite, of the little chunk of love himself using the taggy at nap time. Isn't he cute? And huge. I'm pretty sure when he's two, he'll be able to tackle Suzy to the ground!


Mendi was my first paying customer. Don't tell her, but I would have made it for her anyway. This is her:


When my mother-in-law Jan was diagnosed with cancer, Mendi donated her hair to Locks of Love in her name. She had never even met Jan. How can you not love a girl like that?

Wednesday, July 14, 2010

Ribbon Dresses

I made these two dresses at different times. I made Suzy's* dress last year, which is why it's a little short. I made Sydney's dress during her visit to us this spring.
These are super easy dresses. I simply took a length of fabric from selvage to selvage, and sewed the selvages together, leaving a couple inches at the top unsewed. Then I gathered the top, and attached it to ribbon for a bodice. I sewed the ribbon onto the wrong side, then flipped it and sewed it again to make a quick lining. At least, I did for Sydney's. Suzy's was just scratchy, poor thing!
I added some ribbon straps, a button and button hole in the back of the ribbon, hemmed it and added trim on the hemline, and I was done! The girls loved having matching dresses.
I made a couple of these dresses for Suzy last summer. I think I may try one in a heavier fabric to make a jumper for fall!
*Please excuse her wild fluff of hair. This was before I discovered curl creme!


Tuesday, June 29, 2010

Mother-Daughter Aprons from a Shirt Jacket


I found this jacket at the dig store in Corinth:

It seemed like something a sweet old lady would wear to church. But I loved the fabric, and my friend Gabi encouraged my to make an apron out of it. Gabi is very bad about encouraging me to make aprons out of things. We went thrift shopping this weekend, and she set me up with an 80's dress and a muumuu. For aprons, I mean.

Anyway, back to this jacket. I cut it up, and played around with the pieces to see how it'd all fit together.

At this point I felt very guilty, thinking of the sweet silver-haired old lady that could have proudly worn this to a Wednesday night Bible study but for my butchery. I didn't know what I was going to do with it. And I must have sneezed or something while cutting the right sleeve, because I took out a huge chunk out of it. Then I remembered an old tablecloth that I thought would coordinate with the fabric. I got it out and chopped it up too. I found using it I could make one apron for me and a little bitty one for Suzy. I felt much less guilty and got to work.


She's feeling a little camera-shy in that last one!
I used the body of the jacket for the skirt of my apron, and a sleeve for the bodice. The sleeve had a notched cuff that I turned up to get a little extra length. I used the edging of the table cloth to make the ties.
For Suzy's apron, I made the skirt out of the other sleeve. I folded the cuff down for a cute waist detail. I made the bodice out of a piece of the table cloth. I used the last of the table cloth edging to make her ties and edge the skirt. Then I used the collar to make the neck tie for Suzy. It opens and closes with the collar button, and I added a button on the other side for symmetry.
I love how they turned out. Suzy is thrilled to have a big girl apron to match mine when she helps me in the kitchen. I'm so inspired, I think the muumuu and '80's dress will be turned into mother-daughter aprons as well!

Thursday, May 27, 2010

Little Bo Peep Skirt

A couple weeks ago, I found this mini-skirt at my favorite thrift store (Designer Bargain Outlet in Corinth, Mississippi. Hey, Amy!) and intended to make a peasant skirt for Suzy out of it.

It was so easy in my mind. Simply rip out the zipper, and sew up that seam:

Then cut off the existing waistband, which had some funky elastic on the hips:

I folded down 1/4 inch and pressed it, then folded another 1/2 inch and pressed. I stitched it up, leaving 1 inch open to thread elastic through. I sewed the elastic ends together, and there was my skirt. Easy, simple, no hemming, no messing with pins...except it looked like this:

Not very practical for a four year old. So I went back into my sewing closet. I divided the hem into sixths. Every six part, I stitched two parallel lines, set on the longest stitch setting and low tension:

I tied off the threads at the top of the seams, then gathered from the bottom and tied those off as well.

Then I added a little blue bow by hand.

This is how it turned out:

Much better! I love how whimsical it is, and it makes everything Suzy does look dainty. Here she's showing you how to look like a lady while preparing to chunk a rock.


The end result was one happy little girl!


Thursday, May 20, 2010

Making It Cute

I like to improve common items, to make them a bit more me. Nate teases me about my desire to make things cute, but he likes it. I think.
Today, between laundry and dishes, I convinced myself that I really should take pictures and make a post out of it. Because I'm sure you're dying to see, right?
First up, Suzy's breakfast. Oatmeal is the homliest of all breakfast foods, so I cute it up with a heart-shaped cookie cutter and rainbow sprinkles.


Isn't this pretty fabric? You'll never guess what it's on.


That's right, I sewed a coat for my spray bottle.
Next, my kitchen gloves. Just the Mr. Clean gloves from Walmart. Sooo plain. So I added a little lace trim. It may seem silly, but I have to wear those things three times a day, so I needed to enjoy looking at them. And they coordinate with my spray bottle and apron...though I admit I am the only one who cares!


And this is my lesson plan book. It came with a sterile green plastic cover that gave me chilly memories of grade school. I warmed it up with some fabric scraps.


Here's my daily planner. It was already cute on the inside (like so many of us) but very plain on the outside.


I just added a little ribbon to the cover to make it's outside more feminine.


Here is my Bible. It has a burgundy leather cover, half chewed up the spine by a puppy fond of over-stepping her bounds. Since it was the Bible Nate gave to me on the occasion of his second proposal to me, I made it this little cover to keep it protected from any future marauders.


I wanted a little journal in which I could write Scriptures that are significant to me. I looked many places for a cute one that was inexpensive. Finally I bought one with a plain cardboard cover for $4 at Borders. Or Barnes and Noble's. Or Books-a-Million. One of those bookstores that starts with a B. I knew it would be perfect, because I had enough fabric leftover from my Bible cover to make them match. How cute!

Look how cute they look with my coordinating sermon notebook, bought at the same B. bookstore:

For practicality, a 3 ring binder was ideal for my prayer journal. The plain white one I bought was so impersonal. I fixed it up with fabric from a vintage pillowcase and a scrap of ribbon.

Put all of them together, and it becomes clear the next thing I have to work on is developing a central color scheme:
Go here more people making it cute: